Sunny Slope Greenhouses Page 1
go.ncsu.edu/readext?172556
en Español / em Português
El inglés es el idioma de control de esta página. En la medida en que haya algún conflicto entre la traducción al inglés y la traducción, el inglés prevalece.
Al hacer clic en el enlace de traducción se activa un servicio de traducción gratuito para convertir la página al español. Al igual que con cualquier traducción por Internet, la conversión no es sensible al contexto y puede que no traduzca el texto en su significado original. NC State Extension no garantiza la exactitud del texto traducido. Por favor, tenga en cuenta que algunas aplicaciones y/o servicios pueden no funcionar como se espera cuando se traducen.
Português
Inglês é o idioma de controle desta página. Na medida que haja algum conflito entre o texto original em Inglês e a tradução, o Inglês prevalece.
Ao clicar no link de tradução, um serviço gratuito de tradução será ativado para converter a página para o Português. Como em qualquer tradução pela internet, a conversão não é sensivel ao contexto e pode não ocorrer a tradução para o significado orginal. O serviço de Extensão da Carolina do Norte (NC State Extension) não garante a exatidão do texto traduzido. Por favor, observe que algumas funções ou serviços podem não funcionar como esperado após a tradução.
English
English is the controlling language of this page. To the extent there is any conflict between the English text and the translation, English controls.
Clicking on the translation link activates a free translation service to convert the page to Spanish. As with any Internet translation, the conversion is not context-sensitive and may not translate the text to its original meaning. NC State Extension does not guarantee the accuracy of the translated text. Please note that some applications and/or services may not function as expected when translated.
Collapse ▲|
Photos and text by Debbie Roos, Agricultural Extension Agent.
|
|
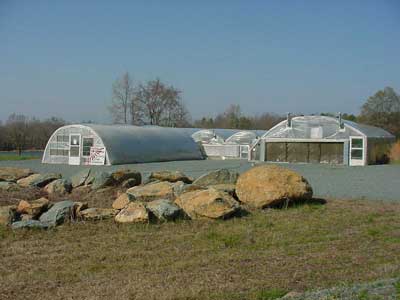
Sunny Slope Greenhouses sit on a southern slope in southwestern Chatham County. The free-standing house on the left is for cucumbers; the house on the right is the original house built in 1979. Four other bays were later constructed and connect to it. Four bays are for tomatoes, and one bay is for the water tank and packing area.. The greenhouses total about 12,000 square feet under cover.
|
|
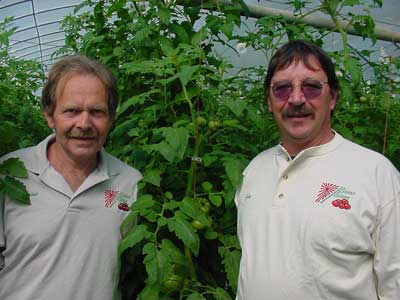
The growers: Dave Denson (left) and Jim LeTendre (right). Together they have 56 years of growing experience. The growing season begins in November. The first tasks are to sow the tomato seeds and during the seven weeks while the plants are growing, prepare the greenhouses for planting. |
|
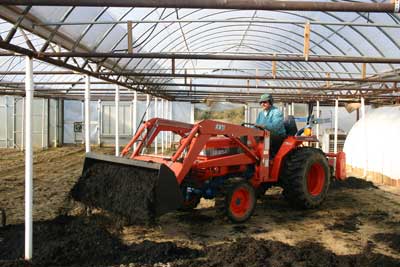
One of the first activities is to prepare the ground for planting. Every two years, Jim and Dave add compost to improve soil tilth, increase organic matter, and enhance soil biodiversity. Here Jim brings in a load of compost, one of the few activities that is done by machine.
|
|
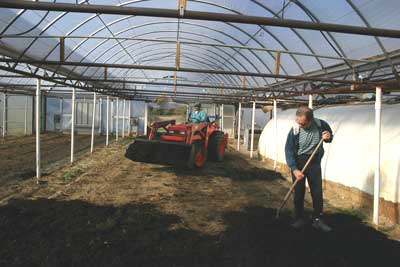
Dave spreads about 2″ of compost which is then worked into the soil. At right is the 18,000 gallon water tank. They use treated and filtered pond water to irrigate the tomato crop. After adding the compost, they then lay out the beds and irrigation tape, repair equipment and fans, and order materials and inputs. Every three years, all the plastic is replaced on the greenhouses. |
|
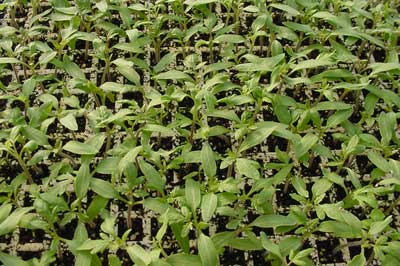
These tomato seedlings are about two weeks old. Jim and Dave use the variety ‘Trust’ for its flavor and disease-resistant qualities. The seeds are planted the first week of November. They plant 3,300 seeds at a cost of about $0.30 per seed. Mycostop, a natural biological fungicide, is added to the soil mixture to prevent root diseases and increase plant vigor.
|
|
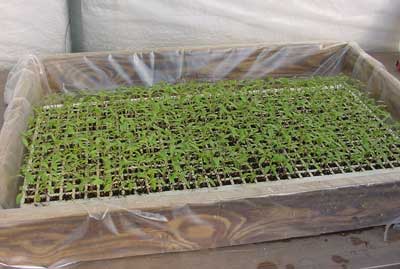
Seeds were sown into each of the 595 cells in this tray. Each cell is 1/2″ square. This flat is being watered from the bottom, which is more effective than overhead irrigation when seedlings are this small.
|
|
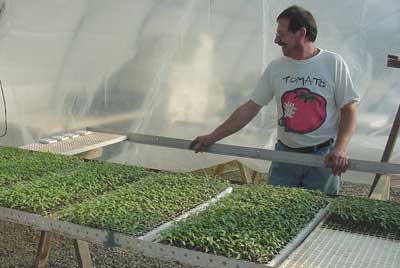
Jim is looking at the whole tomato crop – 3,300 plants, almost $1,000 worth of seed. They create a small room in one of the greenhouses for raising the transplants and maintain the temperature at a constant 78° F day and night. They also supplement with high intensity lights for three hours after sunrise and then again for 3 hours prior to sunset. This is not to extend the daylength, but rather to intensify the low light conditions of morning and evening.
|
|
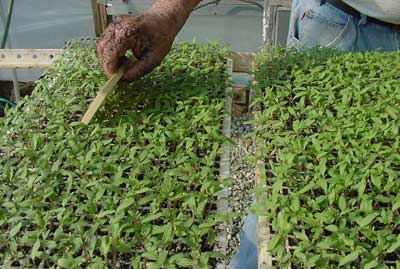
Jim uses a piece of wood to brush the seedlings back and forth every day because the brushing tends to make the stems thicker and stronger.
|
|
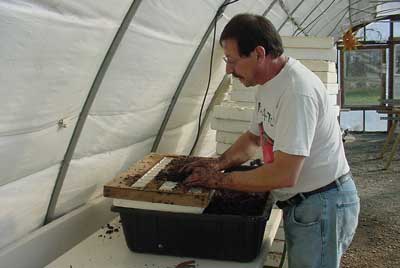
At approximately two weeks of age, or when the first two true leaves are developed, they transplant to a larger size cell – 2″ x 2″. Here Jim is shown filling the larger cell trays with a mixture of potting soil and 10% worm castings (by volume) to incorporate beneficial organisms and help with disease-suppression. Jim uses a wooden form that blocks out half the cells so that only half the cells are filled. This way developing plants have plentty of space to grow – two inches of root space but 4 square inches of space for the top growth. The use of the natural biological fungicide, worm castings, and the choice of variety are all important strategies that help the plants better able to resist diseases and eliminate the need for pesticides.
|


